Dental photography: A clinical superpower worth mastering


Why Every Clinician Should Learn Dental Photography
Dental photography has become an essential part of how I practice, teach, and communicate dentistry. It allows us to document clinical cases with clarity, explain treatment options with confidence, and reflect on our own work with a critical eye.
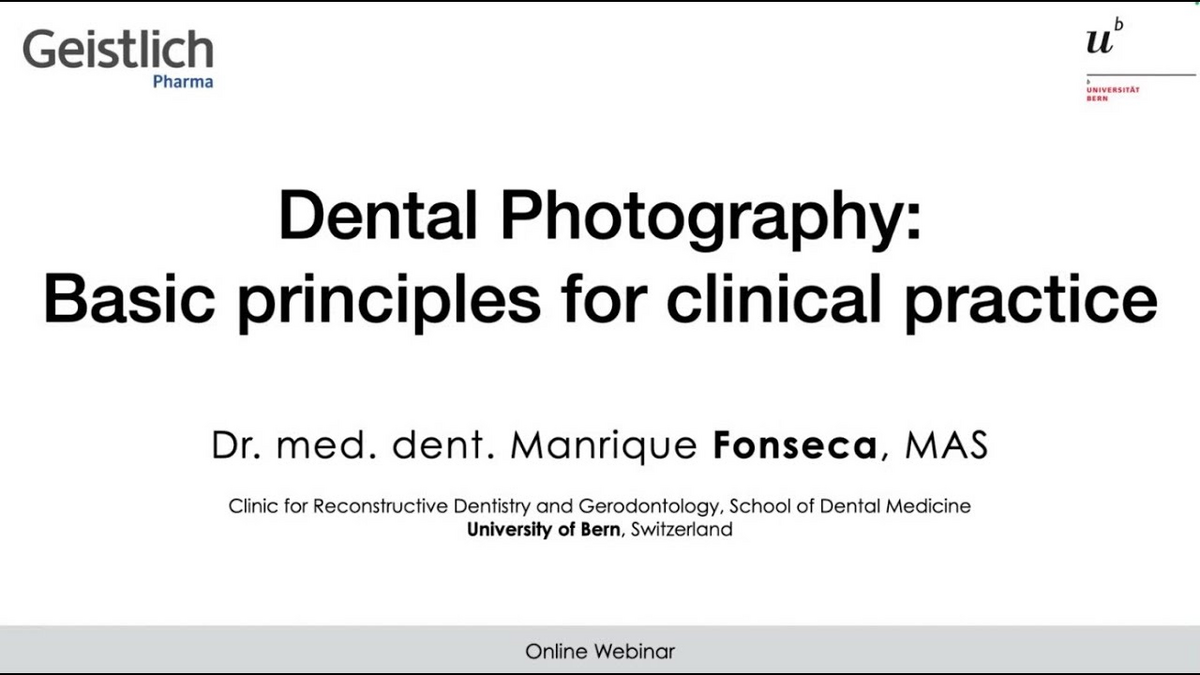
During the webinar, I shared my approach to clinical photography and why I believe every clinician, regardless of experience, should develop this skill. You don’t need to be a professional photographer. You just need a consistent technique, the right tools, and a few key habits.
The Value of Clinical Images
Why Dental Photography Matters
A high-quality image tells a story. It helps us:
- Improve patient understanding and case acceptance
- Track treatment outcomes over time
- Share complex cases with peers or lab technicians
- Build a professional portfolio for teaching or publishing
But beyond these practical benefits, photography sharpens our ability to observe and evaluate our work. It becomes an integral part of lifelong learning.
What You Need to Know
Key Takeaways from the Webinar
1. Understand Your Camera Settings
Aperture, shutter speed, and ISO work together to determine the quality of your images. For intraoral photography, I recommend using a small aperture (around f/22) for greater depth of field, fast shutter speed to prevent motion blur, and low ISO to reduce noise.
2. Use Controlled Lighting
Lighting is critical. A ring or twin flash ensures even, consistent illumination for intraoral images. While natural light can work well for portraits, it is unreliable for detailed clinical documentation.
3. Standardize Your Angles
Reproducibility is key for meaningful documentation. Always use consistent angles, distances, and accessories like mirrors and retractors. Even slight deviations can make before-and-after comparisons less reliable.
Smartphone Photography: Is It Good Enough?
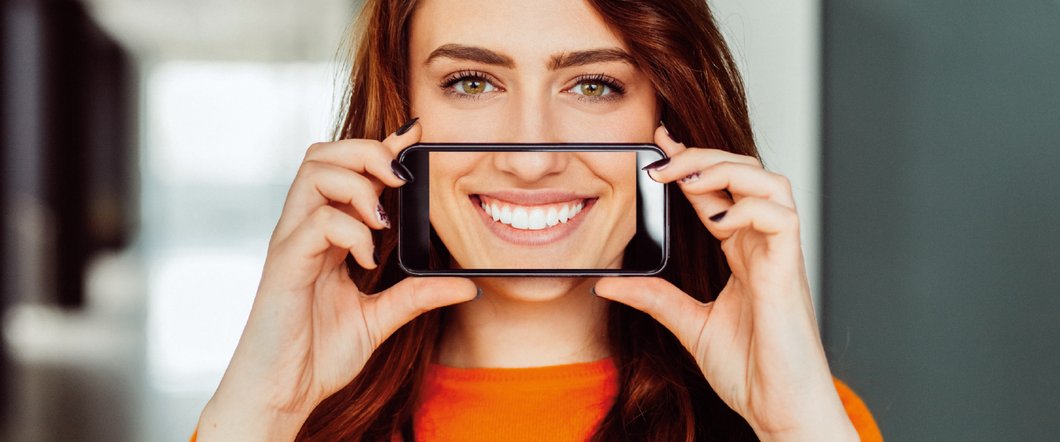
Smartphones like the iPhone or Samsung Galaxy have come a long way in terms of camera technology and can be useful tools for certain types of dental photography. For extraoral images, quick documentation, or social media content, they offer convenience and surprisingly good image quality, especially when paired with add-ons such as macro lenses or mobile-compatible retractors.
However, for standardized intraoral photography and reliable clinical documentation, smartphones still have limitations. Manual control over camera settings, consistent lighting with a ring or twin flash, and optical depth of field remain best achieved with a dedicated DSLR or mirrorless camera system.
That said, if a smartphone is your starting point, focus on achieving consistency, avoiding filters, and ensuring proper lighting and framing.
Avoid These Common Mistakes
- Overexposed or underexposed images from poor flash control
- Blurry images due to poor focus, especially in posterior regions
- Inconsistent angles that hinder comparison
- Distracting backgrounds in extraoral shots
- Overediting or use of filters that alter clinical reality
Clinical photography should reflect the truth, not enhance it artificially. Authentic documentation builds trust with both patients and peers.
A Habit That Pays Off
What I enjoy most about teaching dental photography is seeing how quickly clinicians gain confidence once they begin applying the basics. With regular practice, photography becomes second nature, a habit that improves communication, clinical accuracy, and self-assessment.
You don't need the best equipment. You just need to start.
What's next?
Download Cheatsheet & Rewatch Webinar
1. Dental Photography Cheatsheet
To help you apply these tips, download my printable Dental Photography Cheatsheet. It includes:
- Recommended camera settings
- Positioning and framing tips
- A pre-shoot checklist to ensure quality and consistency
2. Rewatch Webinar
Watch the full webinar recording here:


